Note: This blog is inspired by one of the items in our eBook (The Business Predictability Blueprint)
Often, sales and marketing contacts end up being managed in a mail client like Outlook, Gmail, etc. or some random spreadsheet. This approach should never be the case.
Take action
All contacts should be in a central contact management system either as a lead and/or company/person. Having contacts in a central contact management system means you can see the relationships that business is building and help direct where the business should be going. Sage CRM allows you import customer data, so you are not starting with a blank slate. You can also integrate with your ERP systems to so your data is in sync.
In Sage CRM
Version used: 2017 R2
Office: 2016
*Please note that this is an opinion and not endorsed by Sage or any partner.
This section describes in detail how we do this in Sage CRM.
Get started by Importing data
PART I – Prepare the data
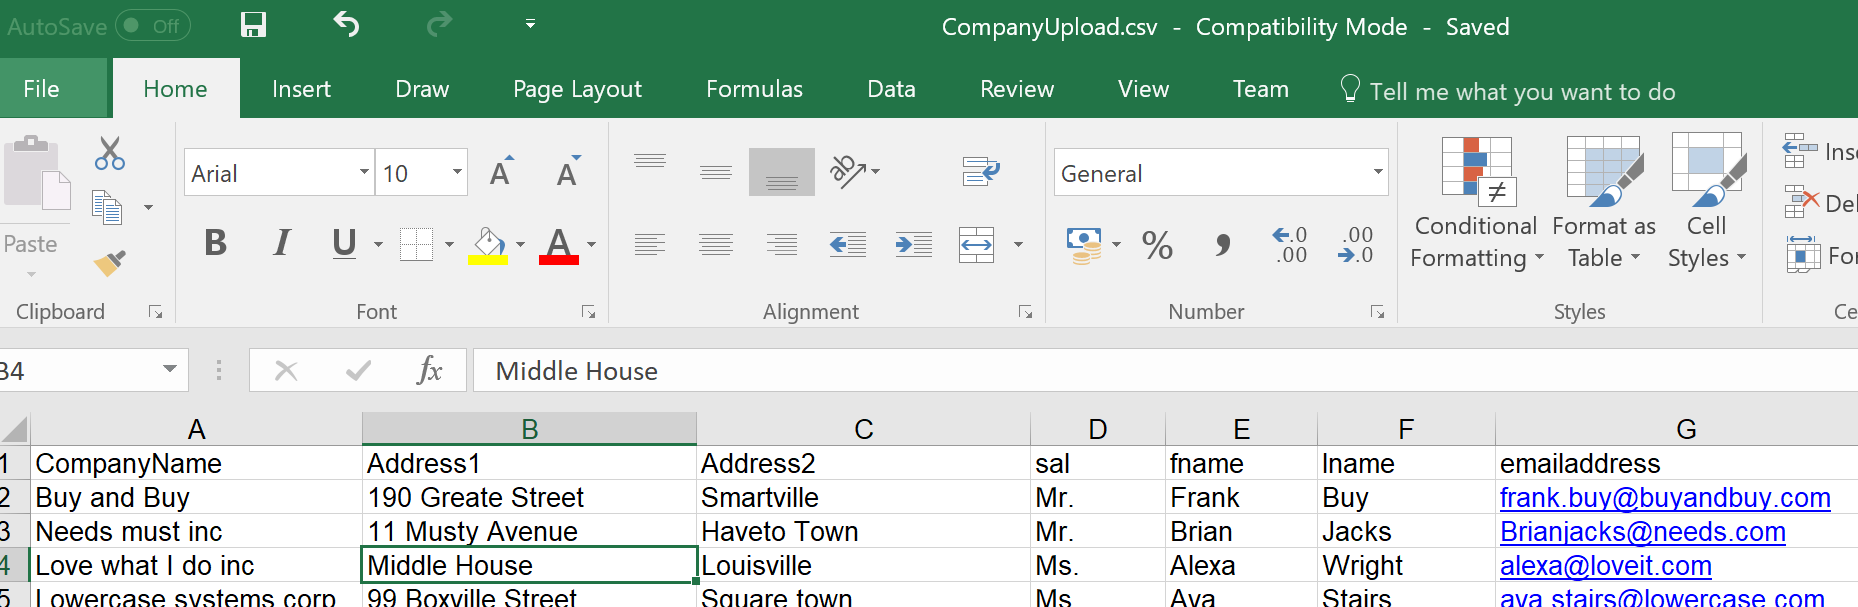
a. Data can be uploaded in “Comma Separated Values” (.csv) or Excel workbook (.xlsx)
b. We use excel to create our file –
c. Review the requirements from Sage about how the file is structured and what limitations there are (no more than 5000 records at a time for example)
d: backup your database just before you start PART II
PART II – Perform the upload
a. Log into CRM as a user with admin rights and access to the required entity (in our example we use Company)
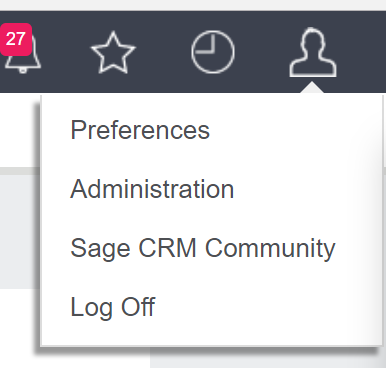
b. Click on the person icon (top left) and click Administration
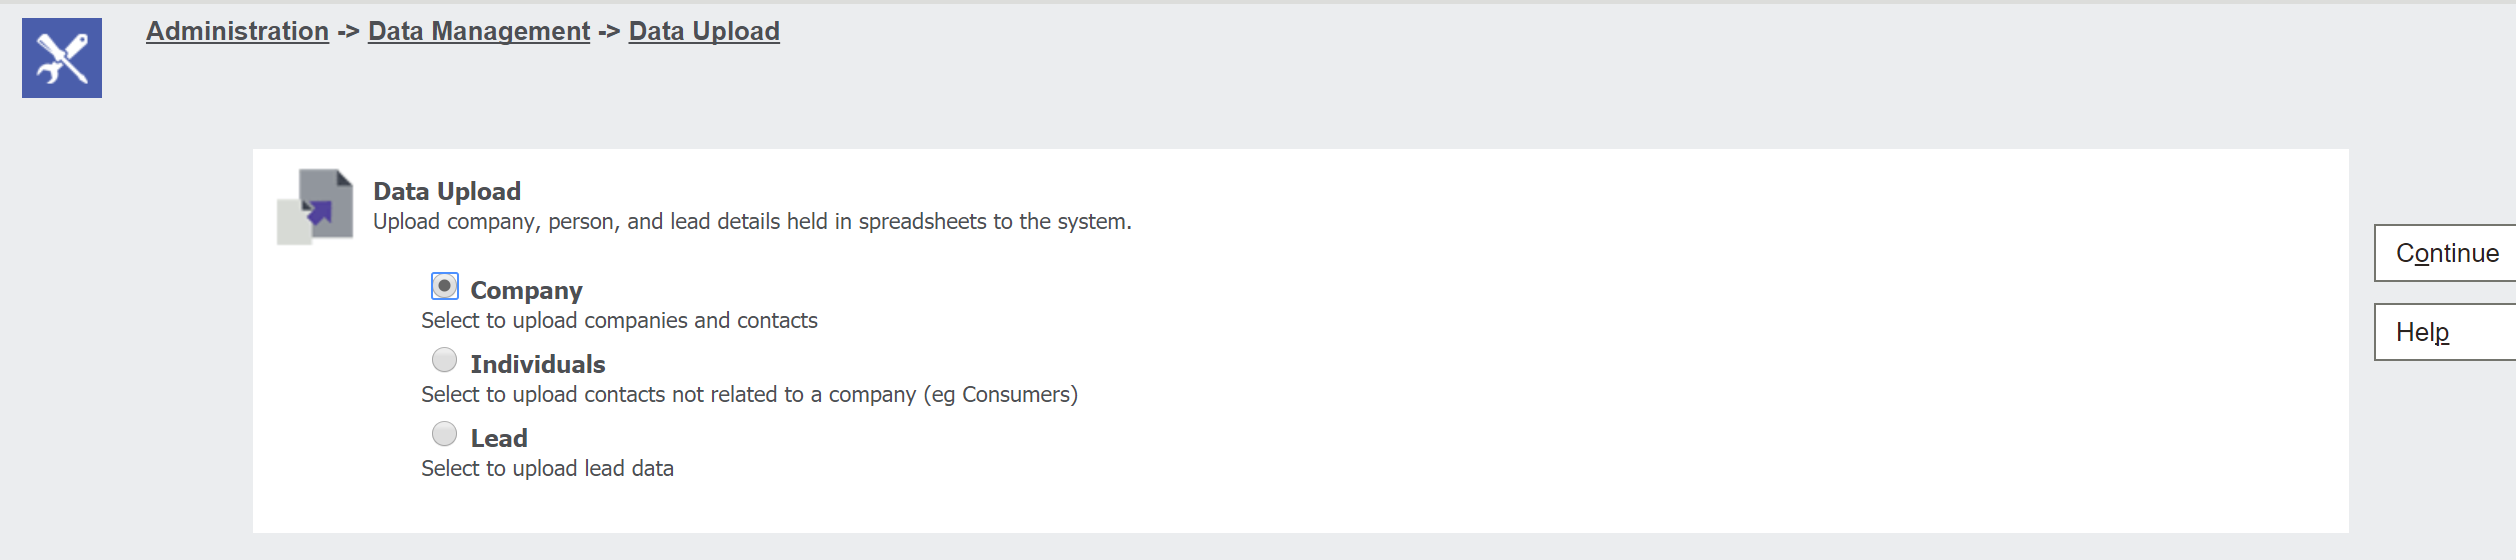
c. Click “Data Upload”

d. Select the “Company” radio button and click “Continue”
e. On the screen you will then see any previous uploads.On our example there are none. Click New

f. On the screen we choose our data upload file and verify the settings
In we are importing date fields all date formats must be the same and match the “File Data Format”.
We can choose to merge the data if it already exists or overwrite it.
One option I would always choose is to Make a Group as this allows you to access this set of data for particular marketing actions later on.
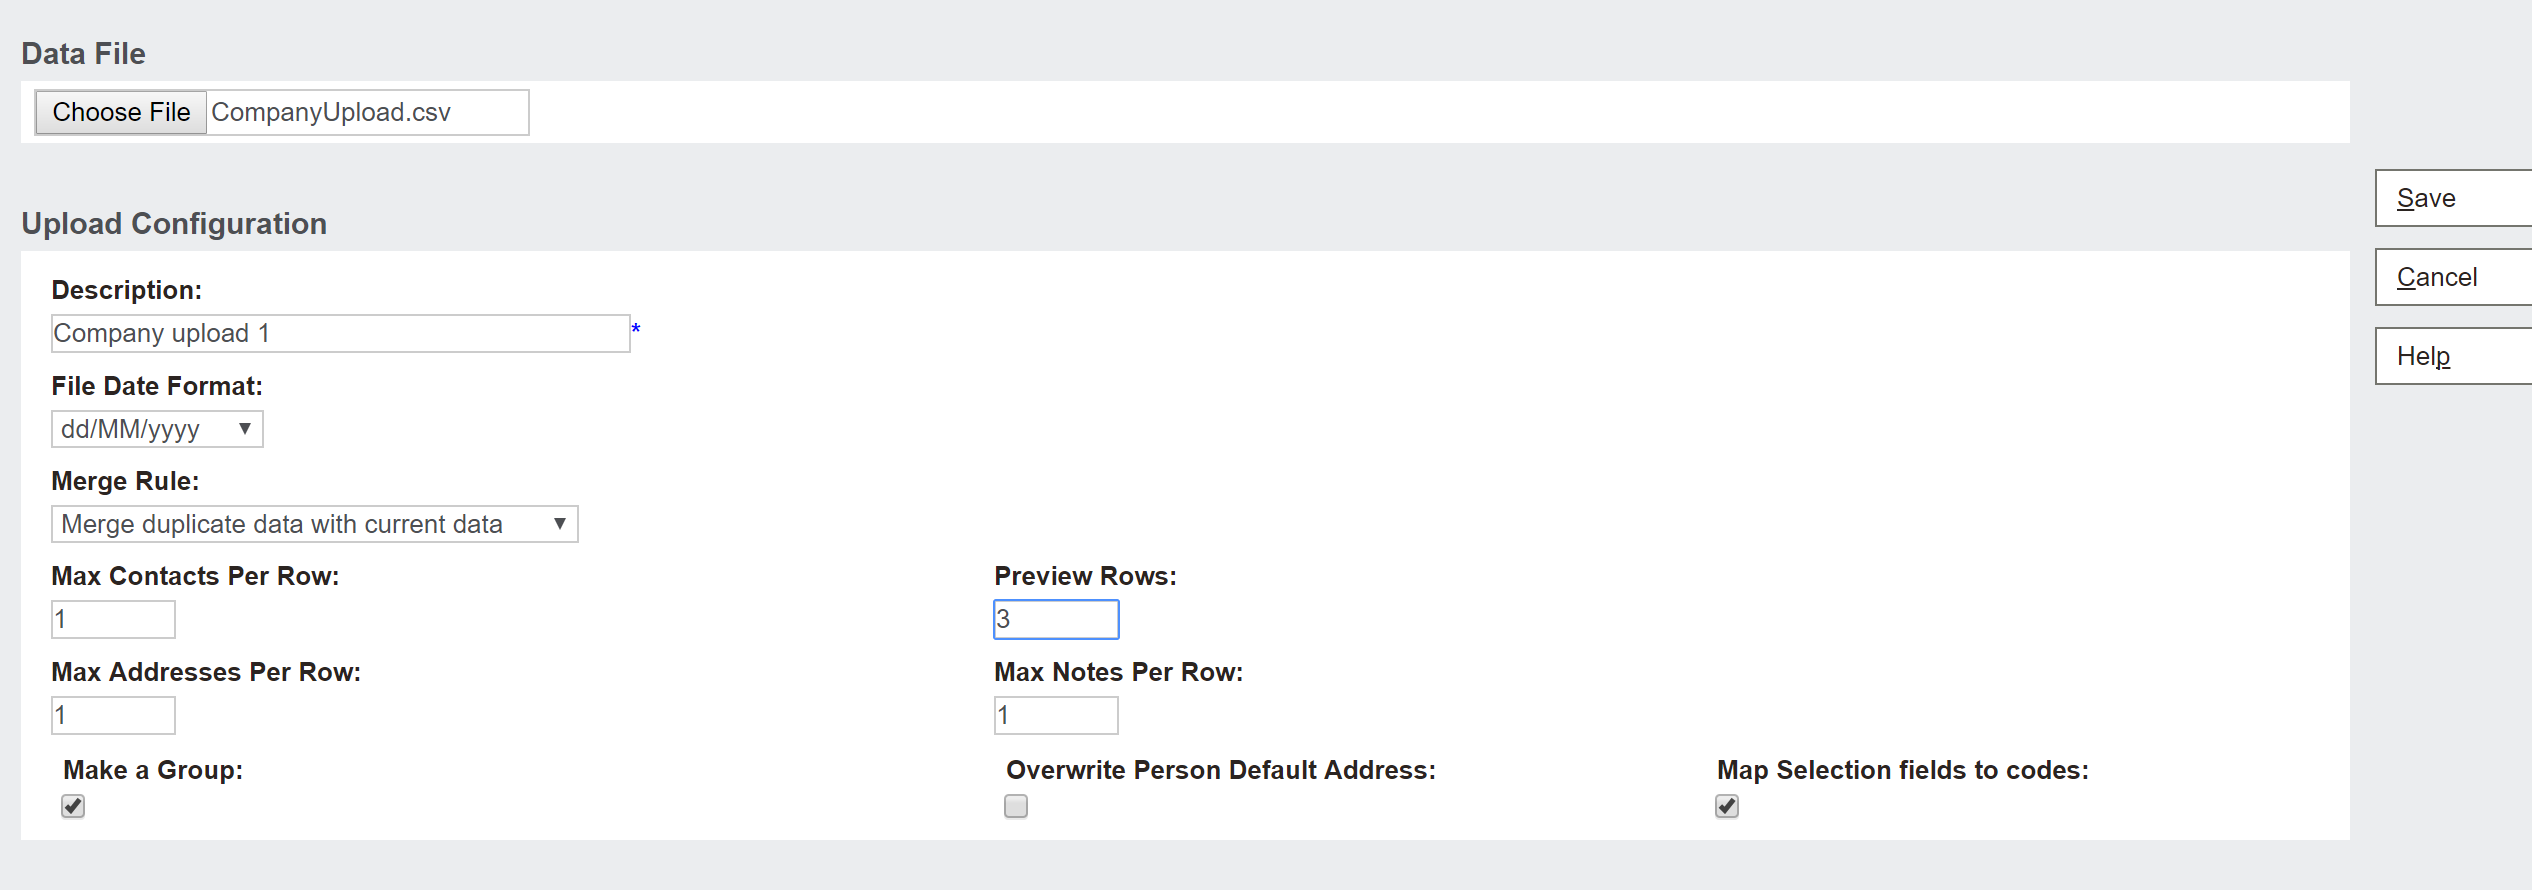
g. Click Save
Now we see the data preview as well as any fields not mapped
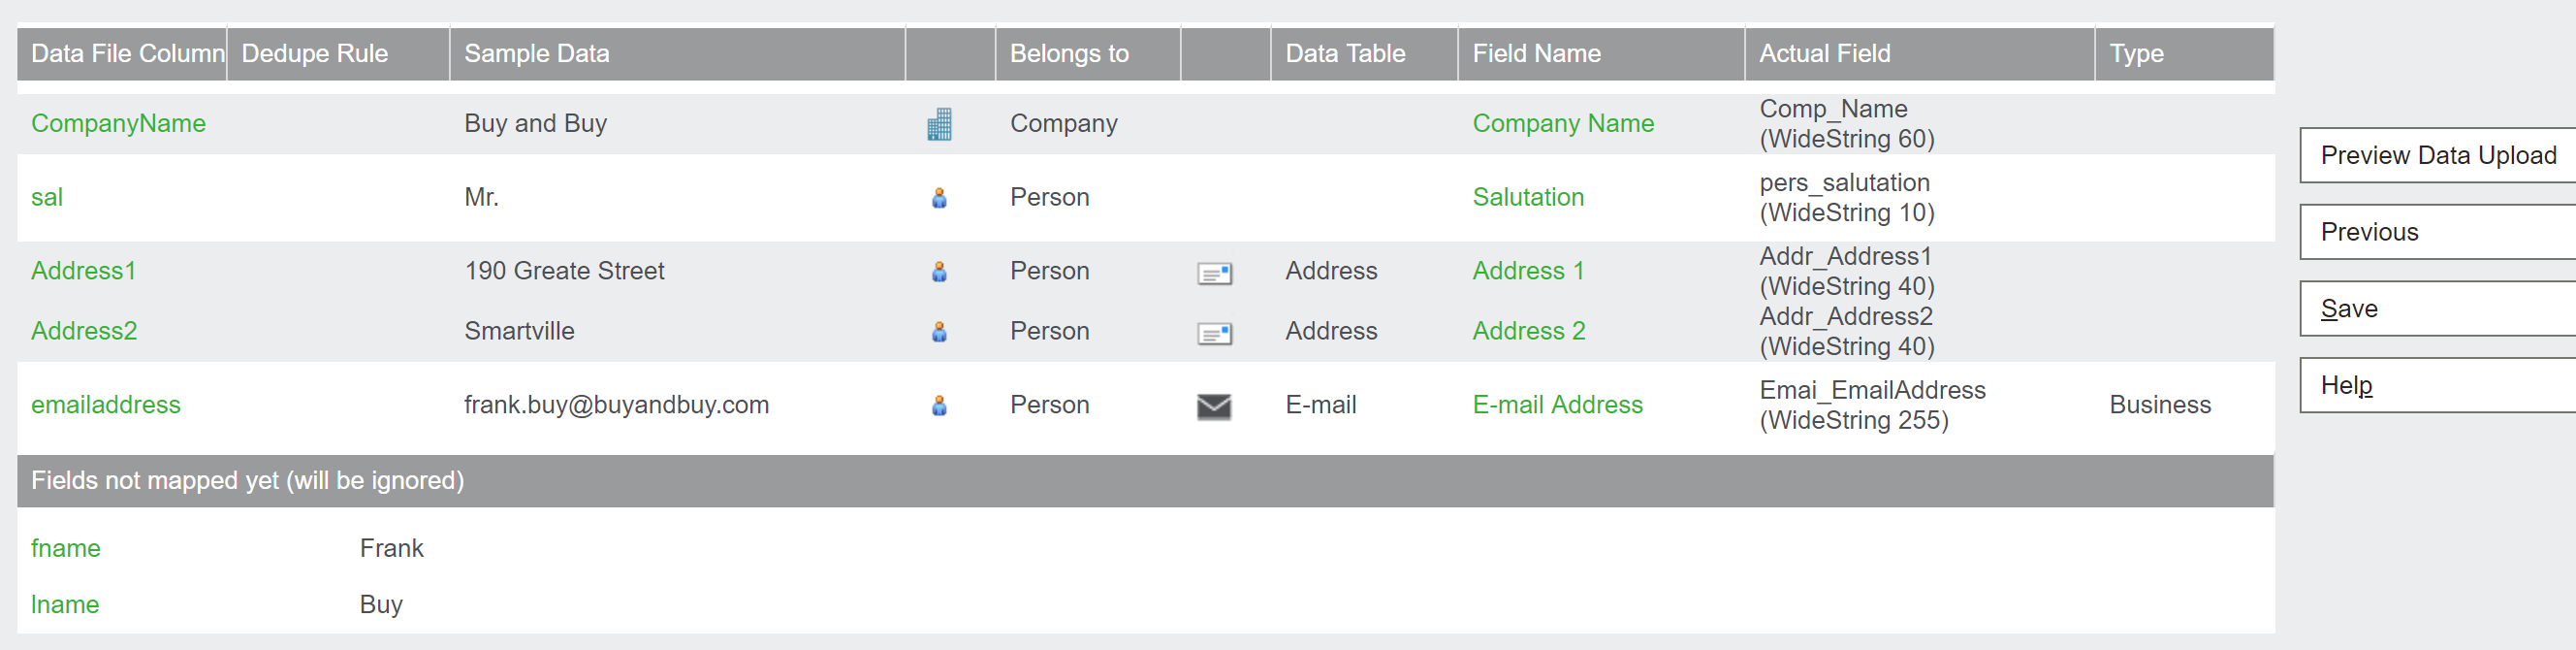
h. Lets map our fields though. Click on the “fname” link and we then see a screen that allows us to map the field

Click Save and repeat this for the lname field

We now see all the fields mapped

i. We click save and see a message

So we click on “CompanyName”, “fname” and “lname” and edit the rule to be “Exact Match”

Clicking Save now works with no message appearing.
j. Click “Preview data upload”.
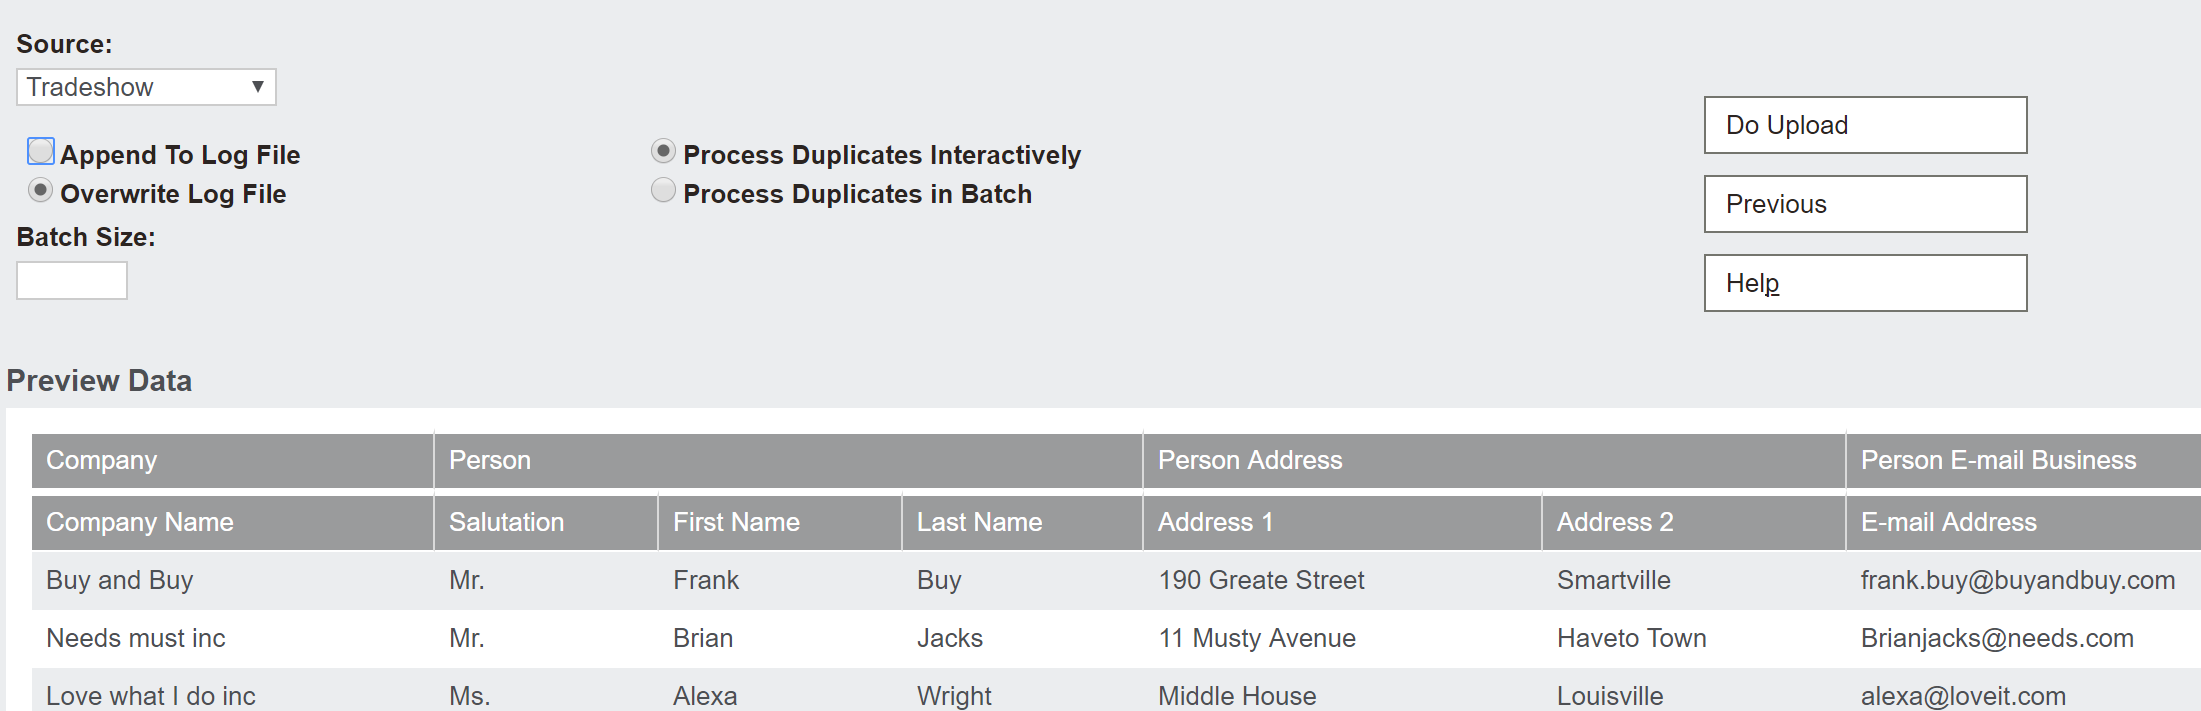
We select “Tradeshow” in our example but you can set up a different source against comp_source.
k. Click “Do Upload”

The upload is performed and you can see the results as well as the static group that was created.
References:
Sage CRM online Help
ref: http://help.sagecrm.com/on_premise/en/2017R2/administration/Content/Administrator/DU_FAQs.htm