Sage CRM Outlook Integration
Our Outlook Integration (Accelerator for Sage CRM) is comprehensive and allows you to work with Sage CRM data from within your email, however we are often asked by our clients to talk them through the Sage CRM offering and so we thought it might be helpful to put together this simple step by step guide on Sage CRM’s own Outlook 2013 integration.
– As of writing Sage CRM Outlook Integration Support is for Outlook 2013 with support for Outlook 2016 due the end of March 2016
Step 1.
Log into Sage CRM (via Internet Explorer as this is required) and open the Preferences page on My CRM
Step 2.
Click on the “Install CRM Outlook Integration”

Step 3.
Click “Continue”
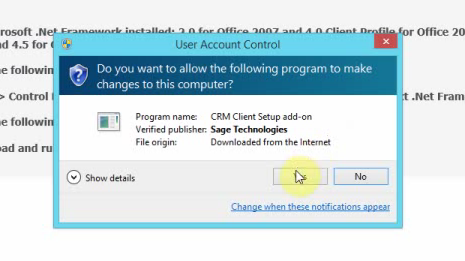 The file will download (click Run on the prompt)
Click Yes
Step 4.
Click Next
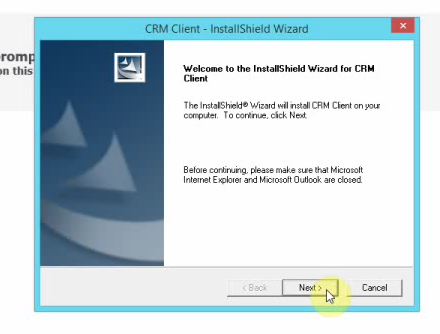 Step 5.
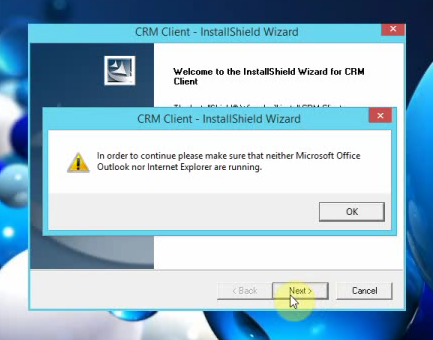
Close all instances of IE and click OK
Step 6.
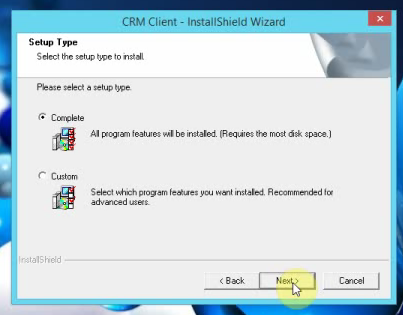
Select the Complete option and click Next
Step 7.
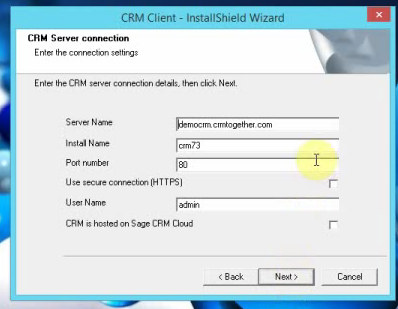
On the following page click “Next”
Step 8.
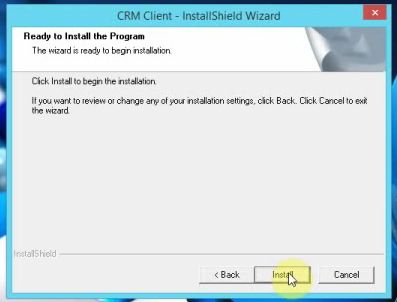
Click “Install”
Step 9.
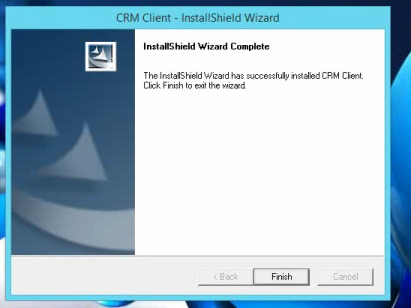 Click “Finish”
Step 10.
Start Outlook
 You should now see the Sage CRM Outlook Integration in a Ribbon
Filing an email with Sage CRM Outlook Integration
Finally filing an email you just select an email and click the “File e-mail” button.
This opens a window – The window will display a match to the email if there is one (the screen below has a match)
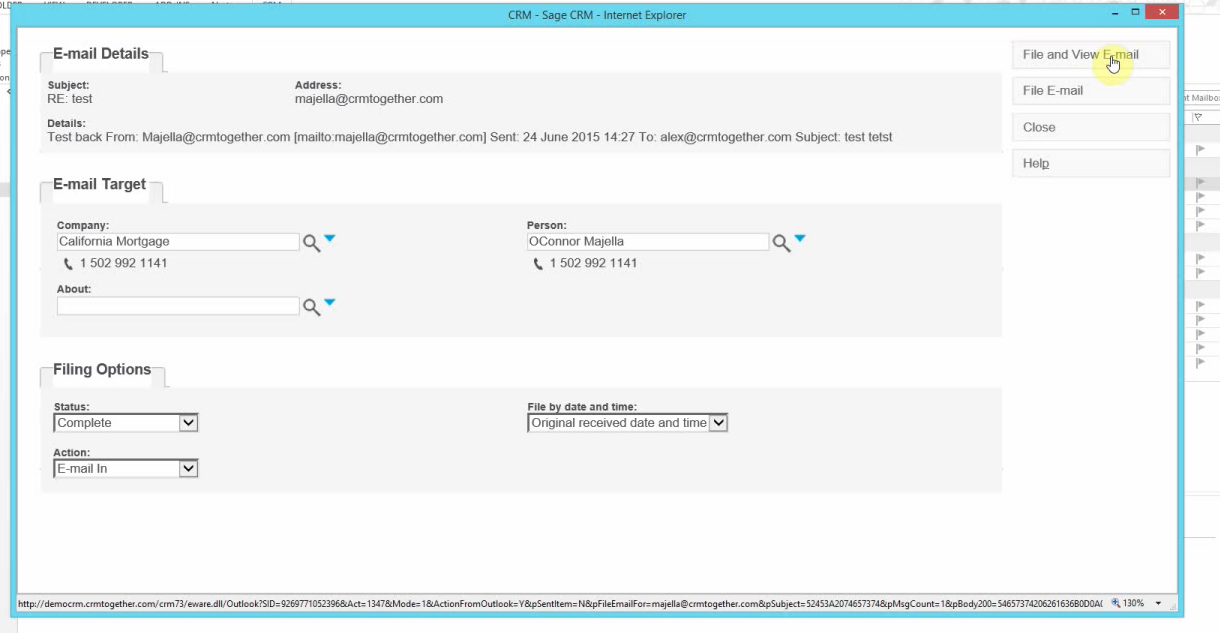
You just click “File and View Email” or “File Email”
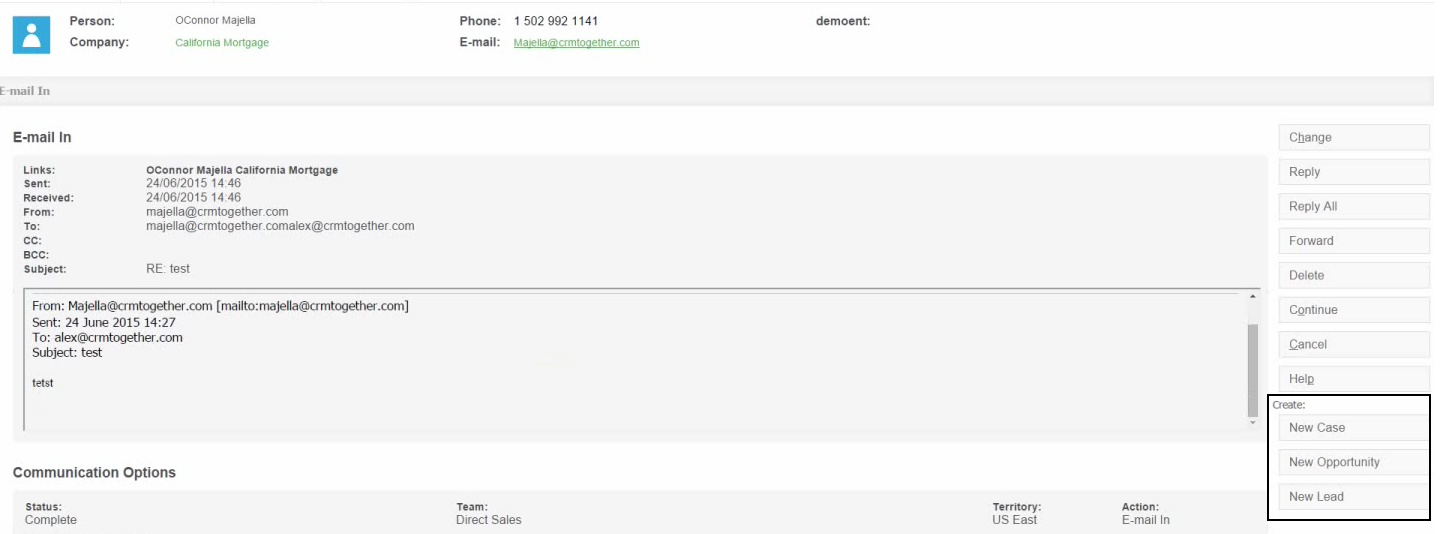
 and the system displays a screen as follows
Within CRM itself you can now view the email and also create a case/lead/opportunity from that email.
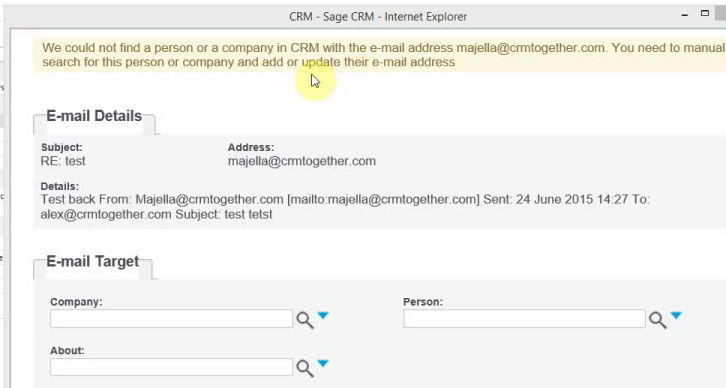
 If there is no match on the email the system prompts you to pick an entity to file against
To register for a demo of our own Accelerator for Sage CRM (which has support for Office Outlook 2013 and 2016 – 32 and 64 bit), visit our webinars page or feel free to get in touch and we will be happy to talk you through the process
Some helpful videos regarding installation of Accelerator for Sage CRM below
